Wednesday, December 4, 2013

Star Garland

Happy Holidays! 

This garland is so simple to make, just follow this tutorial I found on My Clever Nest's blog.


Wednesday, March 27, 2013

Be thankful and say so


I make cards because I want to be a blessing in peoples lives. I hope that with a little note I can encourage someone and make their day a little better. There is enough sadness in this world, we need to encourage each other and build each other up.  I do this as a way to show God's love. 

Psalms 34:1-3 "I will praise the LORD at all times: his praise is always on my lips. My whole being praises the LORD. The poor will hear and be glad. Glorify the LORD with me, and let us praise his name together."

When I think of how blessed I am with a great family and great friends who truly love me I am overwhelmed. Everything I have and everything I am is a blessing from God and I just want to thank
him for everything and how I do that is by sharing the love I receive from God with others. I do that by writing little notes that I pray bless and encourage the people who receive them. Everyone can use some Love and encouragement, knowing they are thought of highly by the people around them.

-katie


Monday, January 28, 2013

Valentine's Day is coming up!

I'm so excited for Valentine's Day! Not even really for the day but for the decorations. They are so girly and happy! And since Valentine's Day is coming up that means my birthday is coming up also!

I used paint chips.....of course.....for the word and just sewed some hearts on. There was really no rhyme or reason to how I got the hearts on there.


Glitter, glitter, glitter, glitter fallin' everywhere


 These cards remind me of these wrist bands I think my sister wore for ballet or something back in the day.  And I LOVE IT!


Saturday, January 5, 2013

Easy and Pie BATMAN!


Da-Na-na-na-na-na-na-na BATMAN! I've been wanting to make something like this for awhile. I actually had the idea of making a Women's and Men's bathroom sign with Batman and Batgirl for the bathroom in our apartment but I figured this would be way easier and I could put it anywhhhere. 

My husband might be alittle upset if he found out how I did this. Haha oh well, I started with this imagine by I don't know who. 

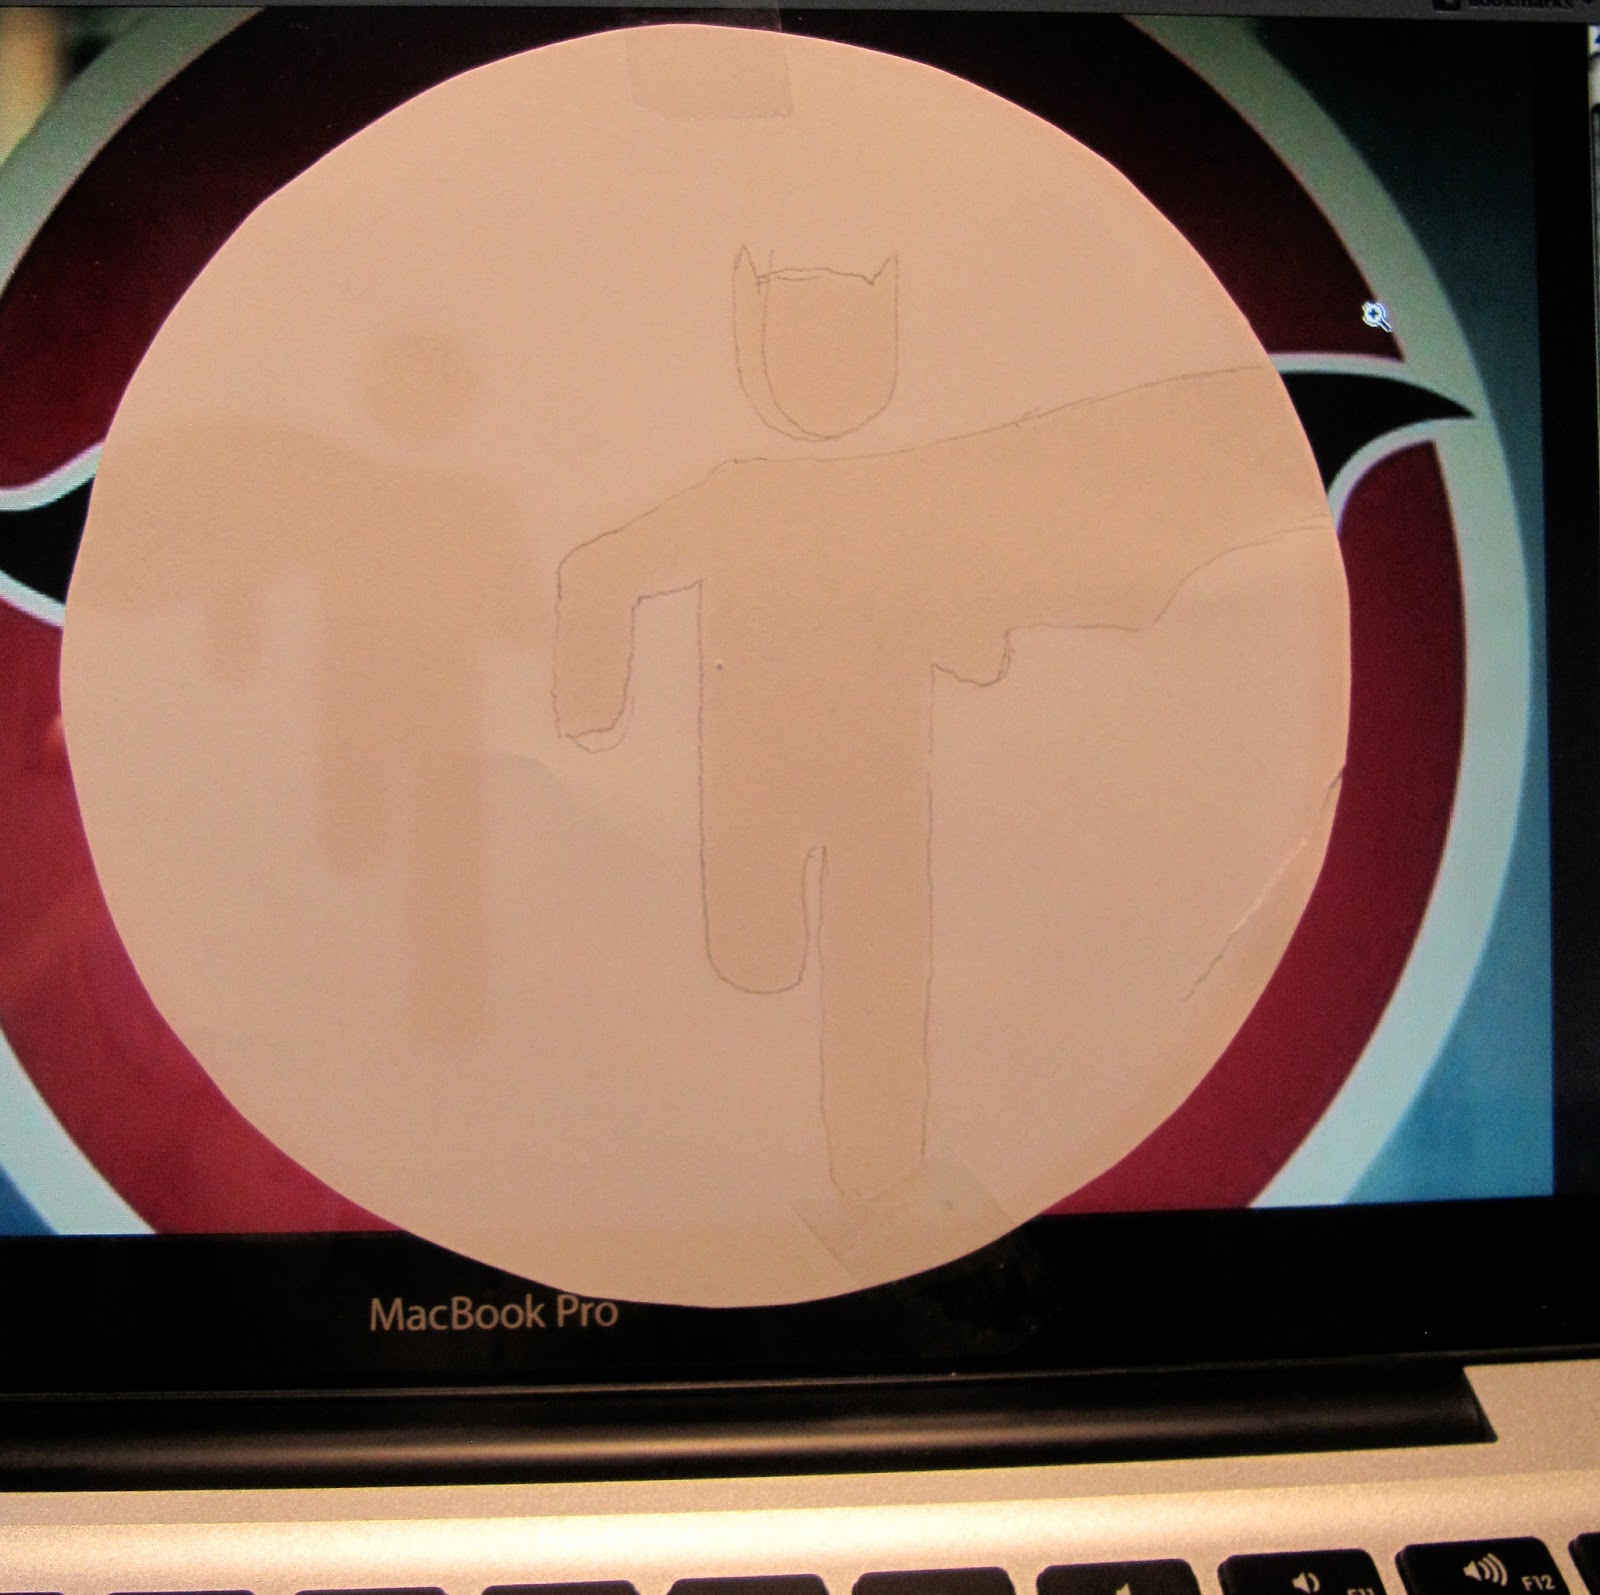
Then I just traced it. I was going to just go the easy route and totally copy it but I decided it would be fun to have Batman and Batgirl.


I zoomed In on the imagine to make it the size I was making mine and just traced it very lightly so I would not hurt the computer and then I fixed up the lines once I was done. 


I had to separately trace the ends of the capes and just tape them on. 

When I  drew Batgirl I first traced the robin imagine and then I kept the same cape as the robin and just added some type of waist so you would know it's a girl and I gave her some ears and her hair coming out of her hood/mask thing.


After all of that I just traced my stencils I made onto the red and black paper and BAM! There you have it! I also cut up some paper bags and added them to the backs of the characters and the circle so it would look like they are coming out of the page and have a shadow. 

I'm not sure yet if I am finished with this project yet. I haven't permanently applied it to the surface because I think it looks a little weird with just a plain white background. We will see if I change it in time! 


Painting, painting, painting.

I have this little stool that I got from a family friend for free. I like it but I wasn't too fond of the wood, it just looked old and used and not in the vintage cool way. So I went to Lowe's and got some paint to spruce it up. Seriously, if you ever want to paint something that isn't too big, GO TO LOWE'S! They have this Valspar section where they have nice size samples of the seasons "trendy" colors. They go for about 2.90 for 8 oz and are totally worth every penny, I think. I did two coats on this and still have plenty left over to do some other projects. 


I'm so happy with this now, too bad it doesn't match anything else in our apartment. Haha, now I will have to change everything to match this little...end table?? I have no clue what it is but I'm very happy to use it to hold my sewing machine.


BEFORE AND AFTER

And if you are painting something, do not cheap out on your paint brush! Cheap paintbrushes leave streaks and do not paint very evenly. They are ca-ca to try and work with.

-Katie

Wednesday, January 2, 2013

DIY Mirror

I AM IN LOVE WITH THIS MIRROR!

 I got the idea from this Ann-Kay Home Blog . I didn't really do much different from her besides using different fabric for the flowers. She used crepe paper and I used some normal cheap fabric I had left over from Jo-Ann Fabrics.
 
 For the Flowers I used The Better Half's Rosette tutorial as a guide.

To do this whole thing it took me about 5 hours, but I kept stopping because I was thinking I was going to quit and then I would start up again about 15 minutes later. When I started I didn't think I would finish it for about 3 weeks...hah honestly. I got very excited to finish though so I just sat down listened to music, watched Peter Pan, the Biography of Full House, some Full House episodes and chugged through it. Also another thing that helped me finish was that I told myself I wasn't allowed to start a new project until I finished this one. I've been wanted to make a hat with some yarn I have had since last year so that was motivation to get me to finish this bad boy so I could start that other project.


For the word LOVE I found that the easiest way to get to the crinkly part of the cardboard was to run scissors through it and the top part would just comes right up. Pretty Simple. Although some parts are glued down better than others so you may have to keep moving around to find the sweet spot to get a good amount off.

I'm not done with these letter yet, I still have to paint them.


See that ugly big flower. Ha, it was the very last one and the space was big enough for a small flower and a medium sized one but I wanted to get finished after sitting for what felt like an eternity so I just made a deformed huge one and made it fit. haha.

I wanted all the flower to look different, I didn't want it to look perfect.
I am so excited about this mirror. I'm thinking about making another in a different color and hanging it over our little mantel place.